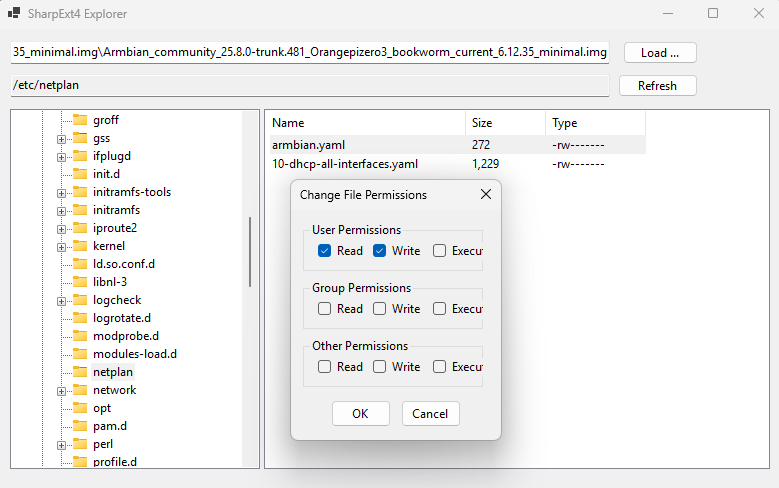
SharpExt4Explorer is a Windows desktop application that provides a sleek GUI for browsing and managing Linux ext2, ext3, and ext4 filesystems—whether they reside on physical drives or disk image files. Built using Windows Forms, it’s intuitive for users familiar with traditional file explorers.
Key Features
Graphic Interface: Navigate the contents of Ext4 partitions visually without command-line complexity.
Partition Support: Works with both MBR and GPT partition tables, whether on physical disks or image files.
Powered by SharpExt4: Uses the SharpExt4 .NET library (a CLR wrapper over lwext4) to handle the actual filesystem interactions.
Lightweight Requirements: Requires Windows 10+, .NET 6 runtime, and must target the x86 platform.
If you’re looking for a straightforward GUI tool to explore Ext4 filesystems from Windows, SharpExt4Explorer is a strong candidate—actively maintained, open-source, and backed by the robust SharpExt4 library.
Would you like help with specific use cases—such as mounting disk images, customizing the GUI, or extending its functionality? Just let me know!
If you’ve got an old USB webcam lying around and a Raspberry Pi collecting dust, here’s the perfect weekend project: turn them into a real-time object detection and web livestream system using Python, OpenCV, and the powerful YOLOv8 model!
This project is lightweight, beginner-friendly, and completely open-source. You can find the full code on GitHub here: Webcam-Livestream Repository
What You’ll Need
Raspberry Pi (any model with a USB port, but Pi 4 is ideal)
A USB webcam
MicroSD card with Raspberry Pi OS
Basic knowledge of Python
What This Project Does
This project allows you to:
Capture video from a USB webcam in real-time.
Detect objects in the video feed using YOLOv8 (a fast, accurate deep learning model).
Serve the processed video stream to a browser using a lightweight web server.
View it all live from your local network!
Under the Hood
Here’s how it works:
1. Real-Time Video with OpenCV
OpenCV grabs frames from your USB webcam and sends them for processing.
cap = cv2.VideoCapture(0)
ret, frame = cap.read()
2. YOLOv8 for Object Detection
I’m using the Ultralytics YOLOv8n model—it’s compact and fast enough for Raspberry Pi:
from ultralytics import YOLO
model = YOLO("yolov8n.pt")
results = model(frame)
3. Annotate and Stream
Bounding boxes are drawn on the frame, and the output is streamed using Python’s aiohttp server.
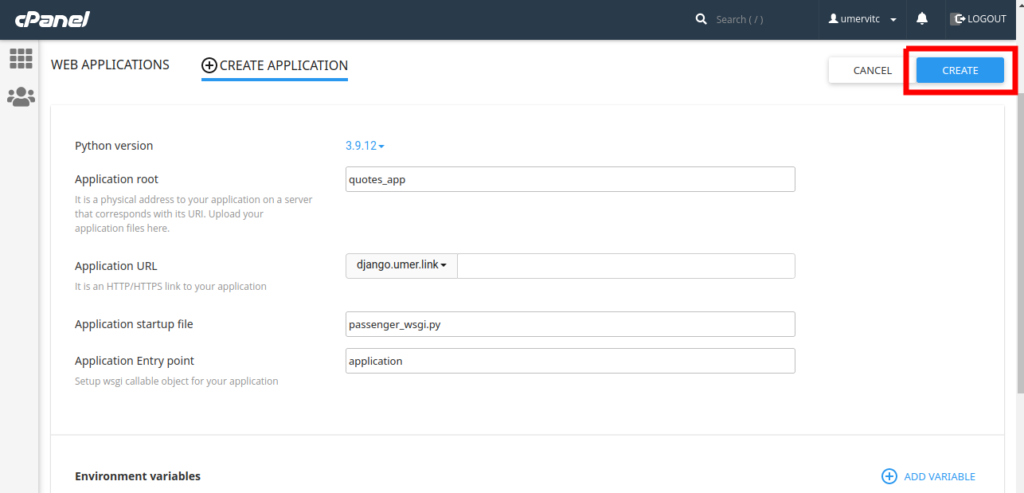
Application Root is the directory where you will place the code files of your Django project. Make sure that it is a different folder than your domain root.
Application URL is the domain or subdomain where your app will run
In the Application Startup File, type passenger_wsgi.py
In the Application Entry Point, type application
After setting all these, click on the Create button.
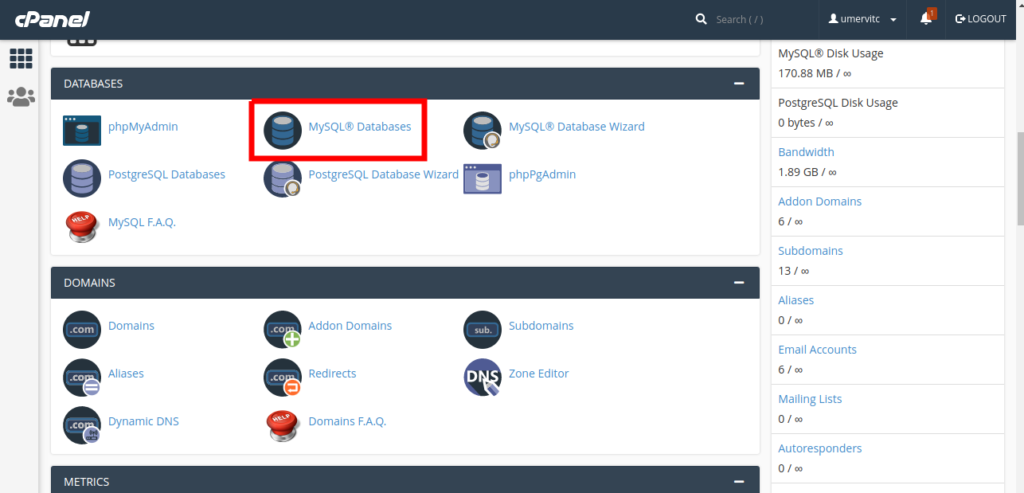
Setup the Database
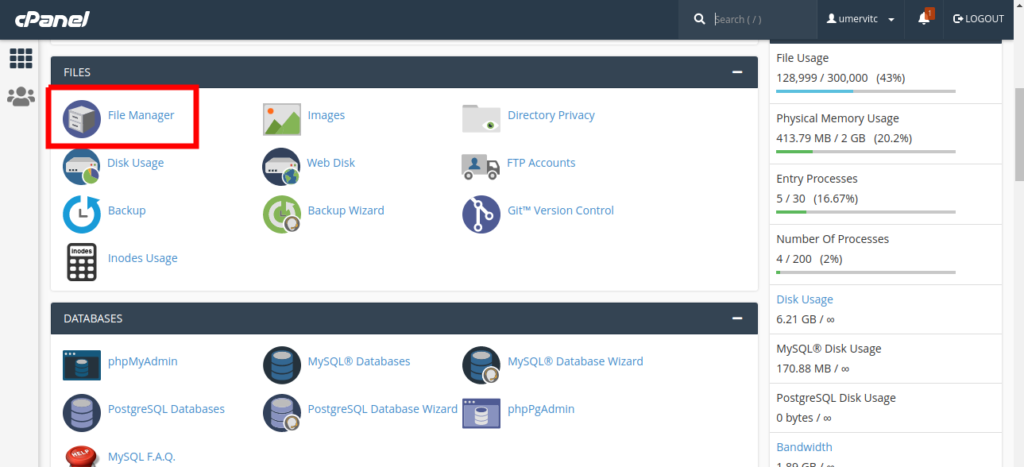
Open MySQL Databases in Cpanel
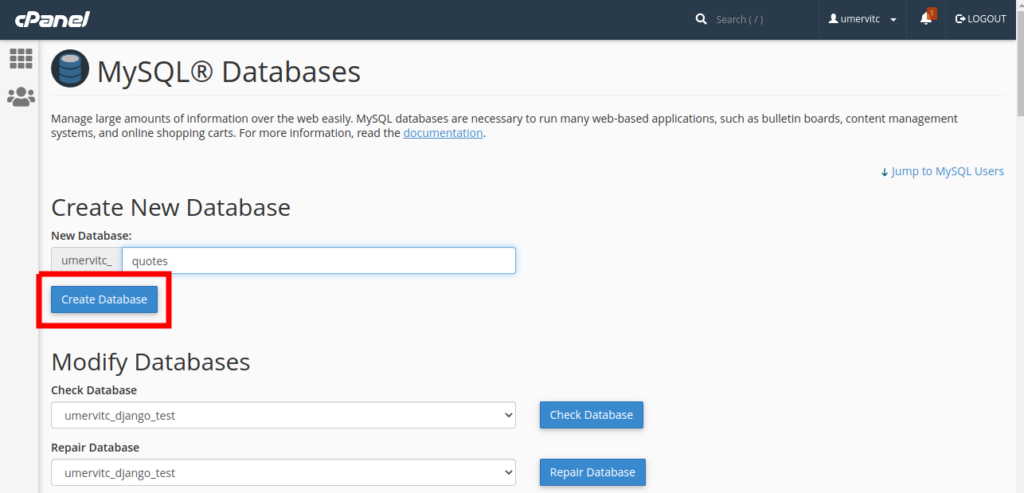
Create a new Database and note the database name. We will need it later.
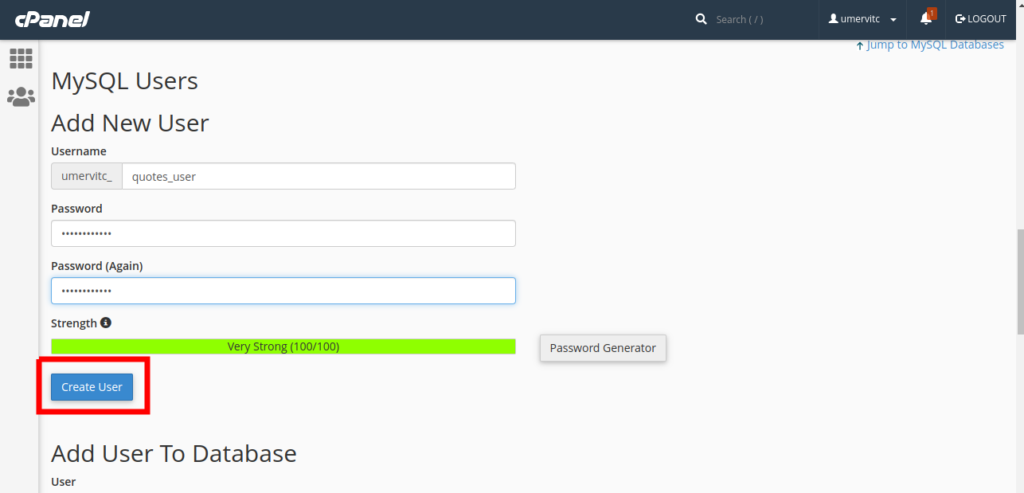
Create a new MySQL user and note the username and password. We will need it later.
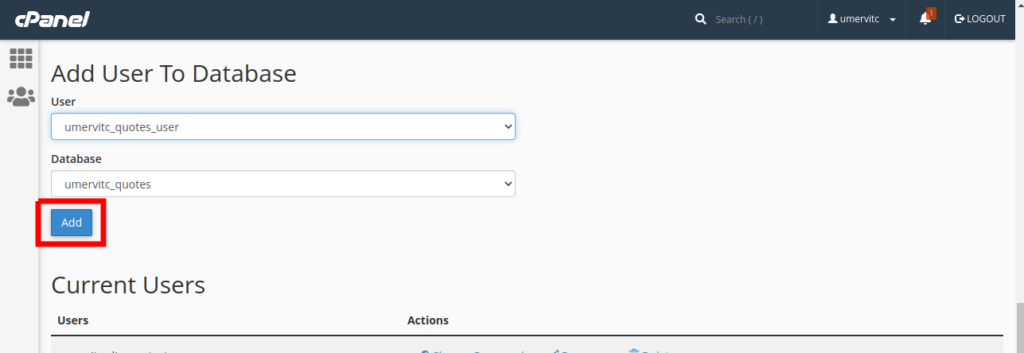
Add the new user to the new Database
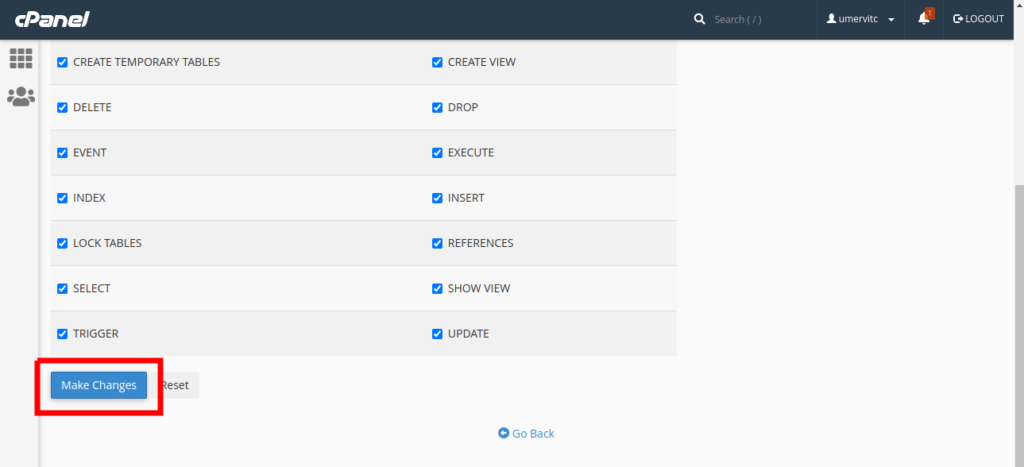
Grant all the permissions to the user and select Make Changes
Upload your project
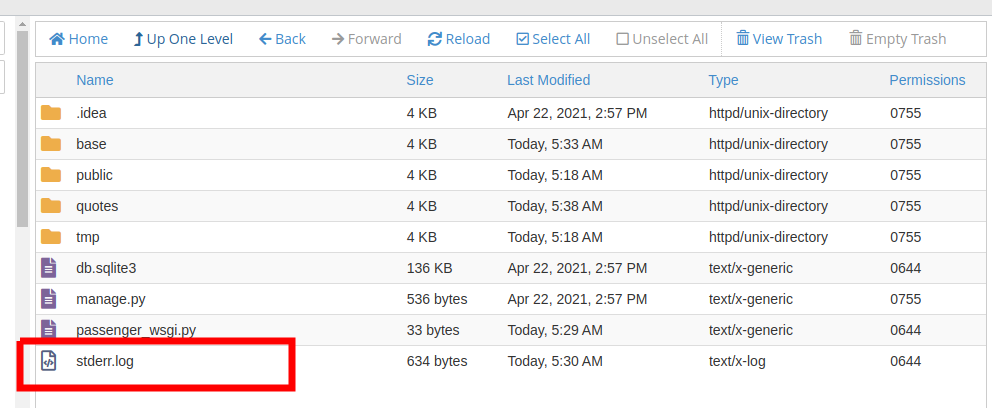
Open the File Manager and go to the Application root you specified in the part 1
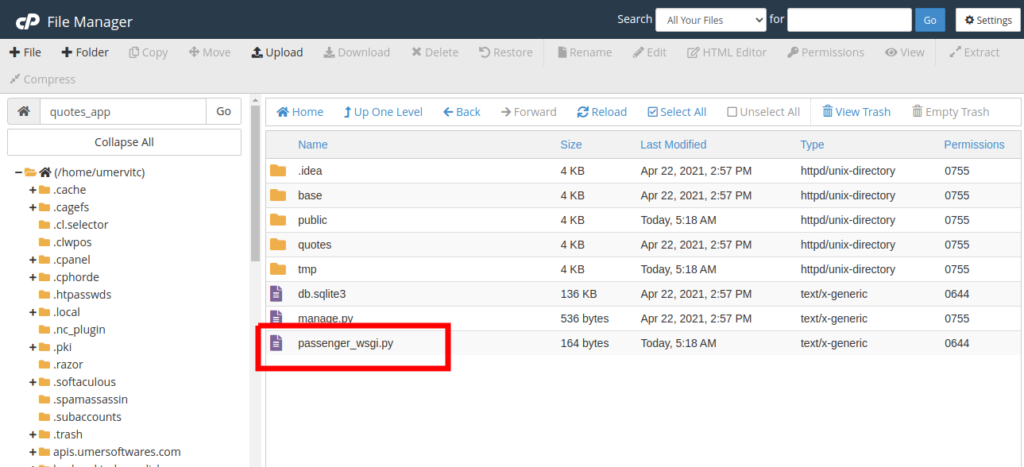
Zip your project. Upload it to this folder and extract the zip file. Your project files should be in the same folder as the passenger_wsgi.py file. Make sure that manage.py and passenger_wsgi.py are in the same folder.
Edit the passenger_wsgi.py file.
Delete everything from this file and add the following code:
from base.wsgi import application
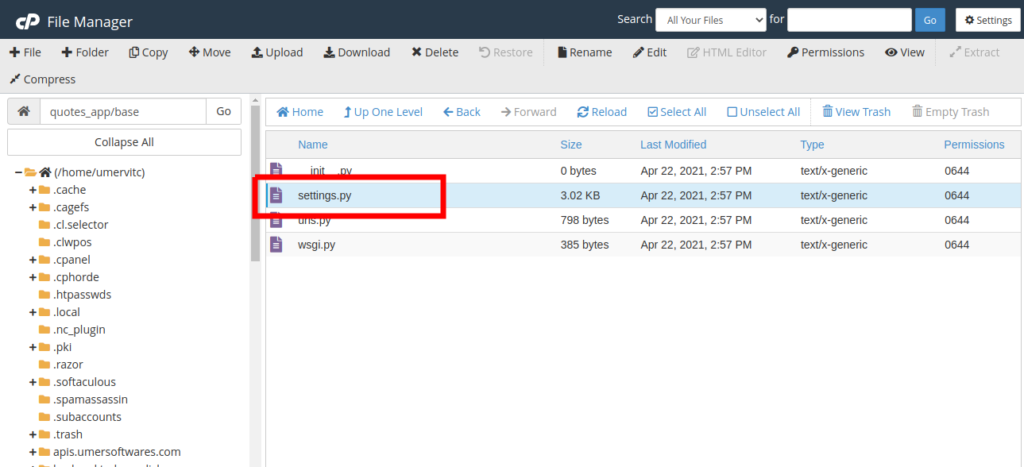
Where base is your project folder. It is the same folder that contains your settings.py file. It will be different if you are not using the test project that I provided. You can locate your wsgi.py file and import application from it.
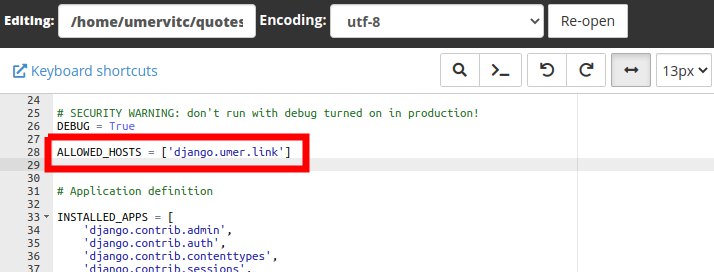
Now edit your settings.py
Add your domain to the ALLOWED_HOSTS list. If there is a www version of your domain, add that too. Do not use http:// to https://ALLOWED_HOSTS = ['django.umer.link']
In the DATABASES dictionary, modify the default database. 'default': { 'ENGINE': 'django.db.backends.mysql', 'NAME': 'databasename', 'USER': 'databaseusername', 'PASSWORD': 'databasepassword', 'HOST': 'localhost', 'PORT': '3306', }
Make sure to replace databasename with the database name, databaseusername with the database username and databasepassword with the database password.
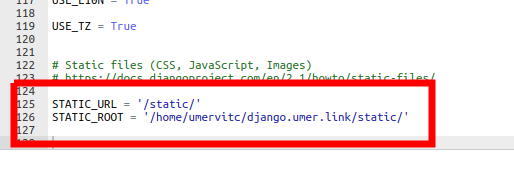
Now go to the end of the file, modify STATIC_URL and add the STATIC_ROOTSTATIC_URL = '/static/' STATIC_ROOT = '/home/username/domainroot/static'
Replace the username with your CPanel username. The domainroot will be public_html if you are deploying on the main domain of your hosting account. If you are deploying on a subdomain or an add on domain, it will be name of the addon domain or the subdomain.
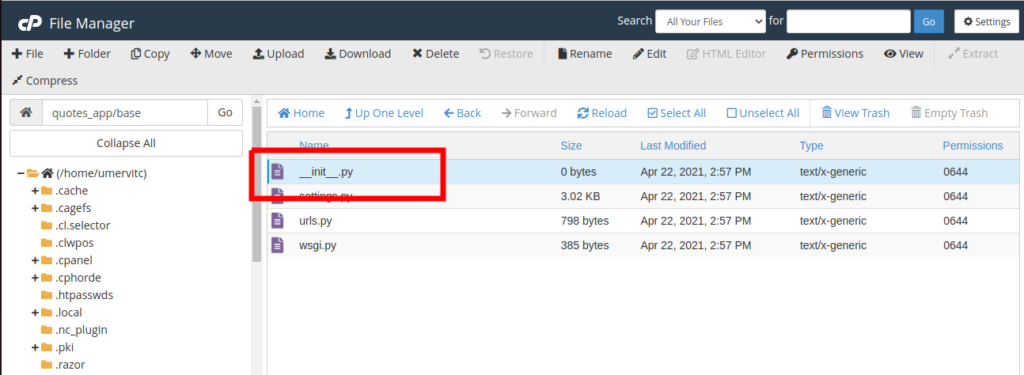
Now edit the __init__.py file
Add the following codeimport pymysql pymysql.install_as_MySQLdb()
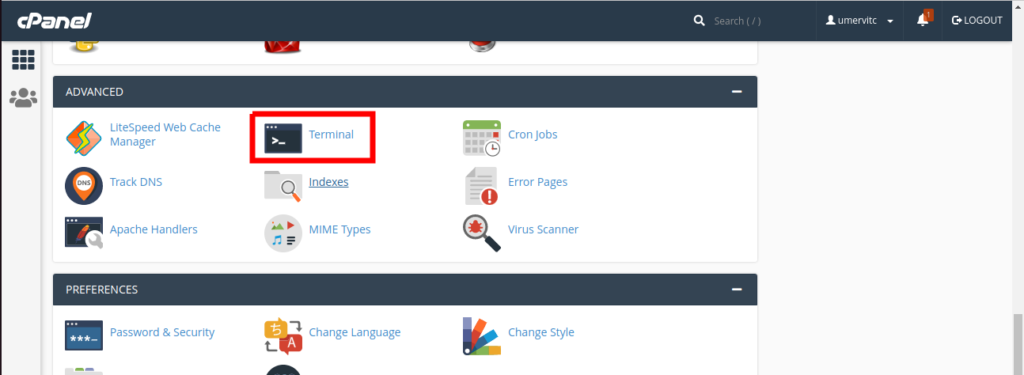
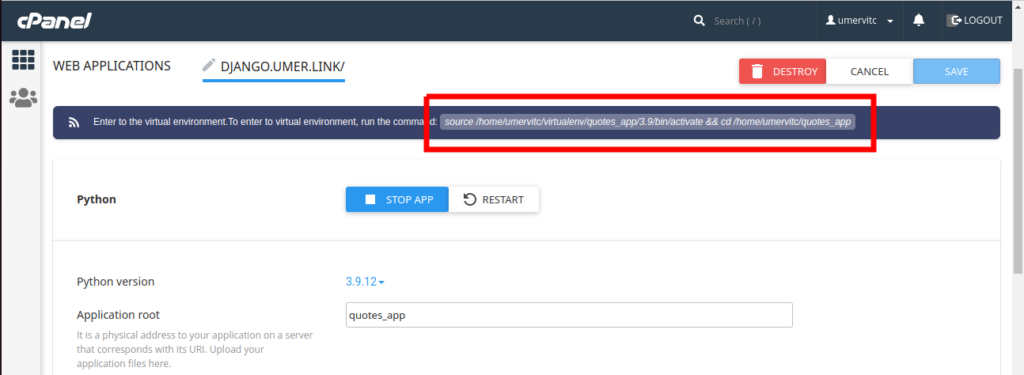
Complete configuration from the Terminal
Open the Terminal in your CPanel. If you can not find the terminal, go to Manage Shell and Enable SSH Access. You can also do these steps using SSH but using the terminal is easy.
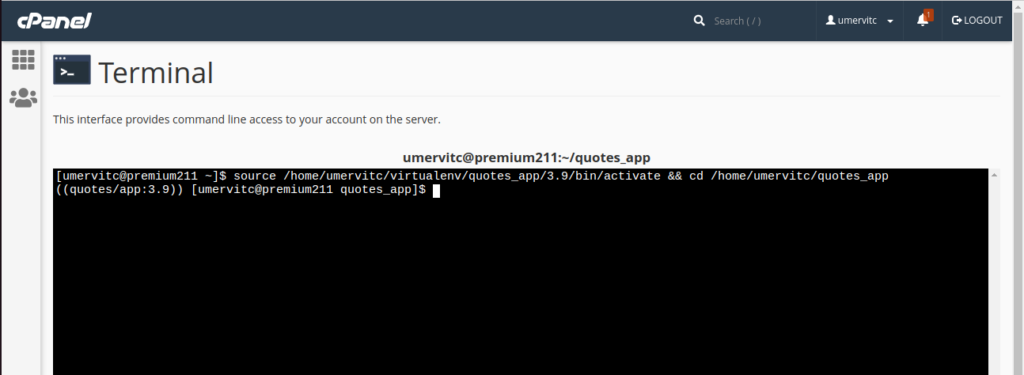
Copy the command to enter the virtual environment from your python app.
Run the copied command in the terminal and press enter to enter the virtual environment,
Install Django 4.0.4 by running the following command.pip install django==4.0.4
pymysql is required for using the MySQL database. Install it using pip. Here you will install any other modules required by your Django app.pip install pymysql
If your migrations are not complete, then make migrations.python manage.py makemigrations
Run migrate to create tables in the database.python manage.py migrate
Run collectstatic to move the static files to the static root folder specified in settings.python manage.py collectstatic
Run createsuperuser to ass a user to the Django admin panelpython manage.py createsuperuser
Finally, restart the python app.
Your Django app is deployed successfully. Open the url of your app to see if it is working fine. If you see the phusion passenger error page, you can find the error in the stderr.log file for debugging.
IdentityServer4 is an OpenID Connect and OAuth 2.0 framework for ASP.NET Core.
Use the PasswordTokenRequest and RequestPasswordTokenAsync to get the access token. replace clientId and secret with the values from your Identity Server, then use the UserInfoRequest and pass your access token to GetUserInfoAsync to get the user claims:
public class TokenService
{
    private DiscoveryDocumentResponse _discDocument { get; set; }
    public TokenService()
    {
        using (var client = new HttpClient())
        {
            _discDocument = client.GetDiscoveryDocumentAsync("http://localhost:5000/.well-known/openid-configuration").Result;
        }
    }
    public async Task<TokenResponse> GetToken(string userName, string password)
    {
        using (var client = new HttpClient())
        {
            var tokenResponse = await client.RequestPasswordTokenAsync(new PasswordTokenRequest
            {
                Address = _discDocument.TokenEndpoint,
                ClientId = "clientId",
                ClientSecret = "secret",
                Scope = "openid",
                GrantType = "password",
                UserName = userName,
                Password = password
            });

            if (tokenResponse.IsError)
            {
                throw new Exception("Token Error");
            }
            return tokenResponse;
        }
    }

    public async Task<string> GetUserInfo(string accessToken)
    {
        using (var client = new HttpClient())
        {
            var response = await client.GetUserInfoAsync(new UserInfoRequest()
            {
                Address = _discDocument.UserInfoEndpoint,
                Token = accessToken
            });

            if (response.IsError)
            {
                throw new Exception("Invalid username or password");
            }
            return response.Raw;
        }
    }
}
SharpPcap is fully managed, cross platform (Windows, Mac, Linux) .NET library for capturing packets from live and file based devices. Now we want to send UPD packet using SharpPcap.
public int SendUdp(byte[] dgram, int bytes, IPEndPoint endPoint)
{
    //construct ethernet packet
    var ethernet = new EthernetPacket(PhysicalAddress.Parse("112233445566"), PhysicalAddress.Parse("665544332211"), EthernetType.IPv4);
    //construct local IPV4 packet
    var ipv4 = new IPv4Packet(IPAddress.Parse("192.168.0.4"), endPoint.Address);
    ethernet.PayloadPacket = ipv4;
    //construct UDP packet
    var udp = new UdpPacket(12345, (ushort)endPoint.Port);
    //add data in
    udp.PayloadData = dgram;
    ipv4.PayloadPacket = udp;

    _device.SendPacket(ethernet);
    return bytes;
}
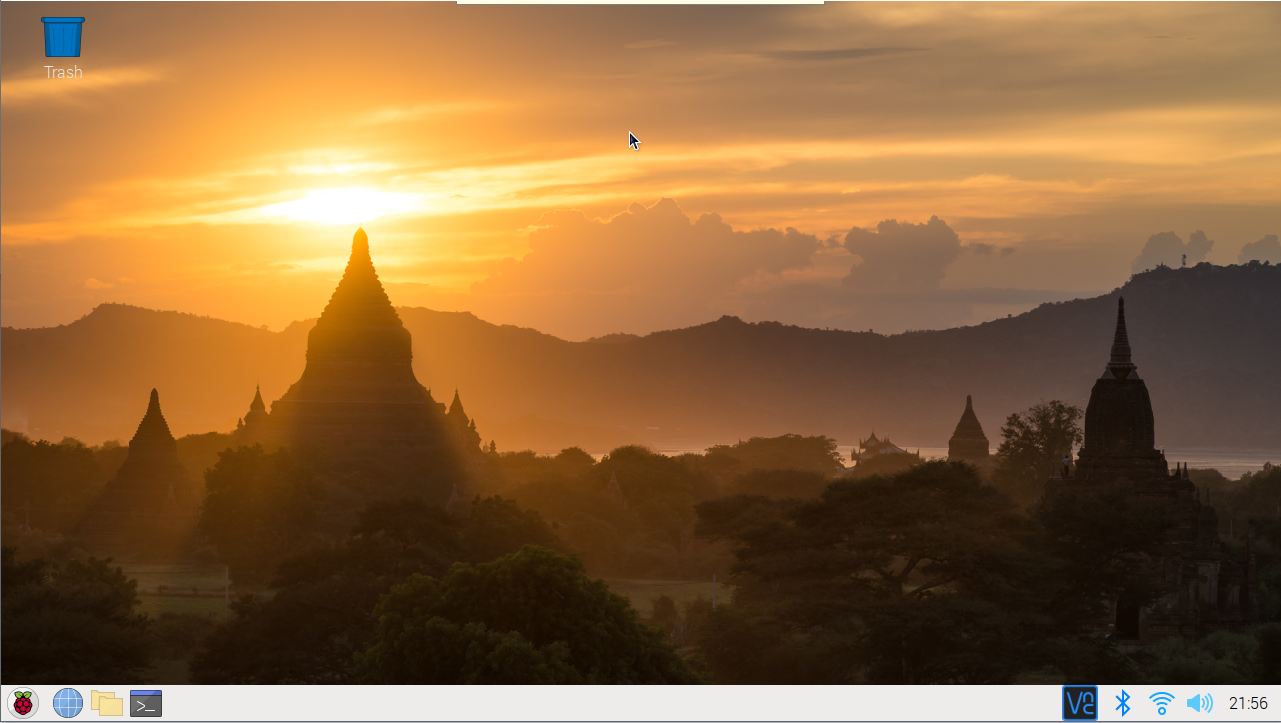
My Raspberry Pi screen resolution being stuck at 800×600 with VNC access to a headless Raspberry PI with Raspberry Pi OS. I found that if I comment out the lines towards the end (as shown below) I was able to achieve a 1920×1080 resolution with my remote headless connection.
[pi4]
# Enable DRM VC4 V3D driver on top of the dispmanx display stack
#dtoverlay=vc4-fkms-v3d
#max_framebuffers=2

[all]
#dtoverlay=vc4-fkms-v3d
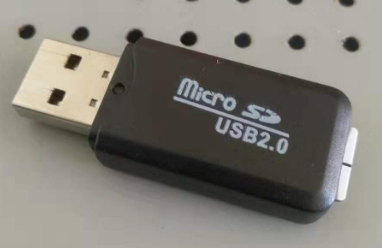
Take out the Raspberry Pi SD card and insert it into a USB card reader
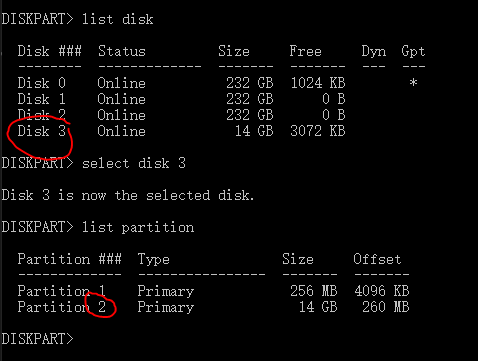
Run “diskpart” from Windows command prompt and find out the SD card disk number and partition number. In my case, the disk number is 3 and the partition is 2.
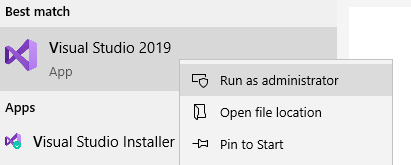
Clone the SharpExt4 from GitHub, and open Visual Studio as Admin
Note: If you want to access physical drive, you must run application in admin permission
Open SharpExt4 and edit the Program.cs from the Sample project
static void Main(string[] args)
{
    //Open Raspberry Pi SD card, see diskpart disk number
    var disk = ExtDisk.Open(3);
    //Get the file system, see diskpart partition number
    var fs = ExtFileSystem.Open(disk.Parititions[1]);
    //List all directories in root folder
    foreach (var file in fs.GetDirectories("/", "*", SearchOption.TopDirectoryOnly))
    {
        Console.WriteLine(file);
    }
}
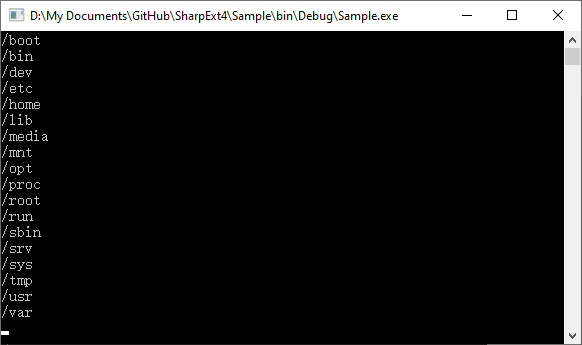
Run the Sample project and see the result to list all the folders in Raspberry Pi root folder.
 //Get the file system
 var fs = ExtFileSystem.Open(disk.Parititions[0]);
Sample code to open a file for read
//Open a file for read
var file = fs.OpenFile("/etc/shells", FileMode.Open, FileAccess.Read);
//Check the file length
var filelen = file.Length;
var buf = new byte[filelen];
//Read the file content
var count = file.Read(buf, 0, (int)filelen);
file.Close();
var content = Encoding.Default.GetString(buf);
Console.WriteLine(content);
Sample code for listing all files in a folder
//List all files in /etc folder
foreach (var file in fs.GetFiles("/etc", "*", SearchOption.AllDirectories))
{
    Console.WriteLine(file);
}
Sample code for file creation
//Open a file for write
var file = fs.OpenFile("/etc/test", FileMode.Create, FileAccess.Write);
var hello = "Hello World";
var buf = Encoding.ASCII.GetBytes(hello);
//Write to file
file.Write(buf, 0, buf.Length);
file.Close();
Full ExtDisk APIs
public sealed class ExtDisk : IDisposable
{
    public IList<Partition> Parititions { get; }
    public Geometry Geometry { get; }
    public ulong Capacity { get; }

    public static ExtDisk Open(string imagePath);
    public static ExtDisk Open(int DiskNumber);
    public sealed override void Dispose();
    public byte[] GetMasterBootRecord();

}
Full ExtFileSystem APIs
public sealed class ExtFileSystem : IDisposable
{
    public static string MountPoint { get; }
    public string Name { get; }
    public string VolumeLabel { get; }
    public bool CanWrite { get; }
    public string Description { get; }

    public static ExtFileSystem Open(Partition partition);
    public void CopyFile(string sourceFile, string destinationFile, bool overwrite);
    public void CreateDirectory(string path);
    public void CreateHardLink(string target, string path);
    public void CreateSymLink(string target, string path);
    public void DeleteDirectory(string path);
    public void DeleteFile(string path);
    public bool DirectoryExists(string path);
    public sealed override void Dispose();
    public bool FileExists(string path);
    public ValueType GetCreationTime(string path);
    public string[] GetDirectories(string path, string searchPattern, SearchOption searchOption);
    public ulong GetFileLength(string path);
    public string[] GetFiles(string path, string searchPattern, SearchOption searchOption);
    public DateTime GetLastAccessTime(string path);
    public DateTime GetLastWriteTime(string path);
    public uint GetMode(string path);
    public Tuple<uint, uint> GetOwner(string path);
    public void MoveDirectory(string sourceDirectoryName, string destinationDirectoryName);
    public ExtFileStream OpenFile(string path, FileMode mode, FileAccess access);
    public string ReadSymLink(string path);
    public void RenameFile(string sourceFileName, string destFileName);
    public void SetCreationTime(string path, DateTime newTime);
    public void SetLastAccessTime(string path, DateTime newTime);
    public void SetLastWriteTime(string path, DateTime newTime);
    public void SetMode(string path, uint mode);
    public void SetOwner(string path, uint uid, uint gid);
    public sealed override string ToString();
    public void Truncate(string path, ulong size);
}
Full ExtFileStream APIs
public class ExtFileStream : Stream
{
    public ExtFileStream(ExtFileSystem fs, string path, FileMode mode, FileAccess access);

    public override long Position { get; set; }
    public override long Length { get; }
    public override bool CanWrite { get; }
    public override bool CanRead { get; }
    public override bool CanSeek { get; }

    public override void Close();
    public override void Flush();
    public override int Read(byte[] array, int offset, int count);
    public override long Seek(long offset, SeekOrigin origin);
    public override void SetLength(long value);
    public override void Write(byte[] array, int offset, int count);

}
The full SharpExt4 library can be found at my GitHub.